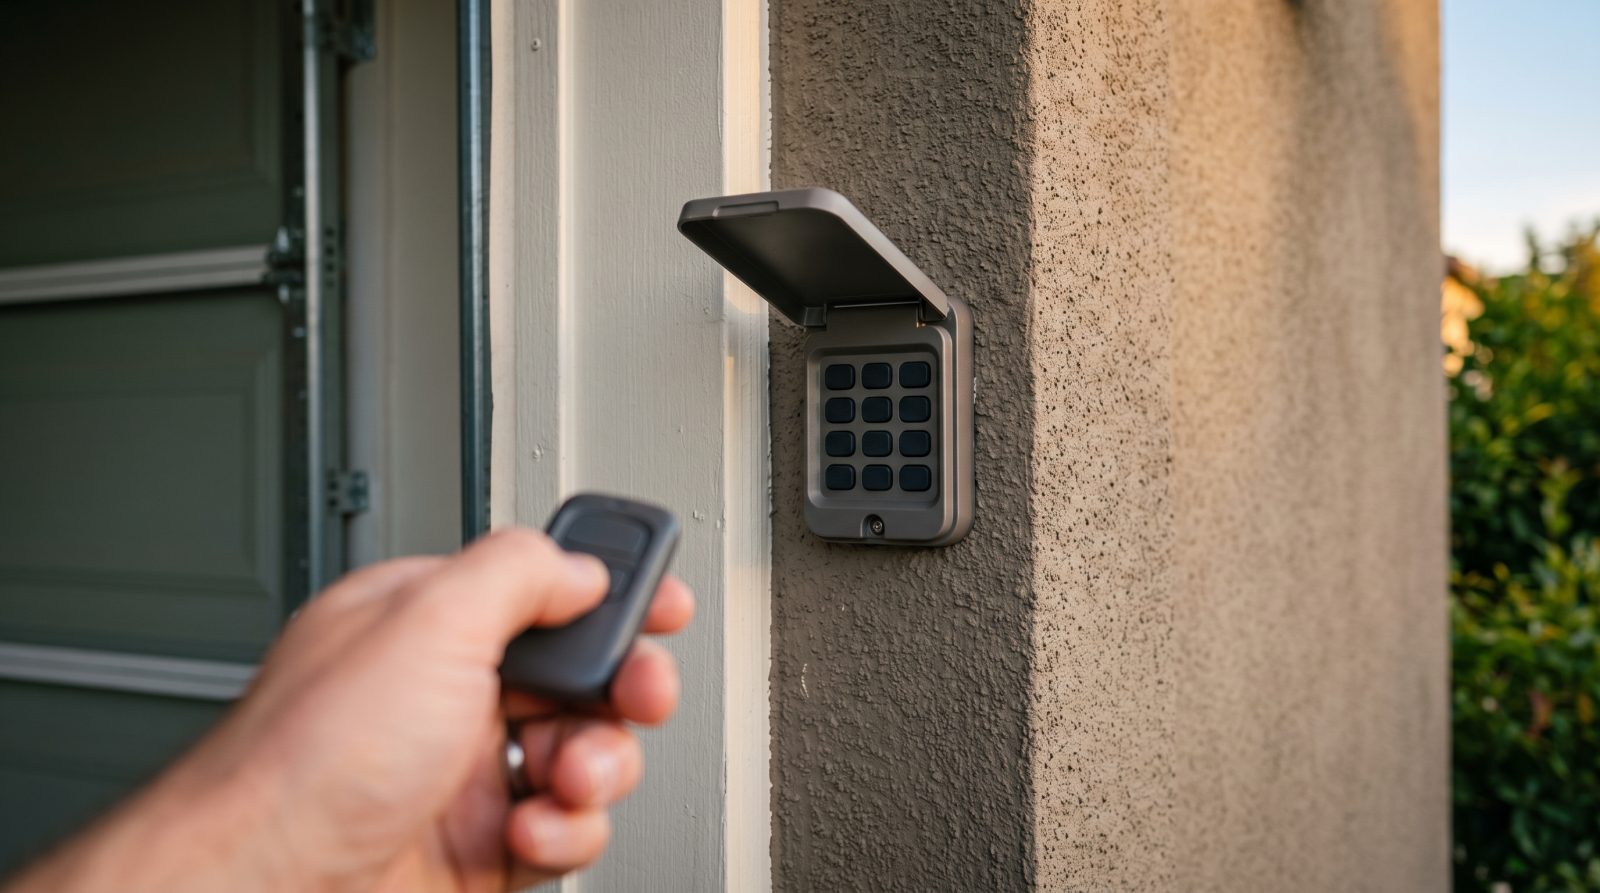
Remote or keypad not working? Do this first
Before you assume anything is broken, run a 60-second check. A surprising share of "dead" remotes and keypads are simply out of battery, out of sync, or being blocked by a feature you forgot was switched on. Working through these in order will tell you whether you have a five-minute fix or a real repair, and it keeps you from forcing a door that may have a deeper problem.
Start with the obvious and move toward the technical. If the wall-mounted button inside the garage still opens the door normally but the remote and keypad don't, the opener motor and door hardware are fine, and the issue is almost certainly with the remote, the keypad, or the radio signal between them and the opener. That single test narrows things down dramatically.
- Test the hard-wired wall button. If it opens the door, your opener and door are healthy and the problem is the remote/keypad or its signal.
- Replace the remote battery. A weak coin-cell or AA is the single most common cause; a fresh battery fixes a large share of "dead" remotes instantly.
- Check the keypad battery. Wireless keypads run on their own battery (often a 9V or AAs) that drains every year or two.
- Move closer to the door. If the remote only works within a few feet, that points to low battery or radio interference, not a broken opener.
- Look for a lockout. Many openers have a "vacation" or lock button on the wall console that disables remotes and keypads on purpose. Toggle it off and retest.
- Watch the opener's antenna wire. The thin wire hanging from the motor is the receiver; if it's tucked up or snapped, range drops sharply.
How garage door remotes and keypads actually work
Understanding the basics makes troubleshooting far less mysterious. A garage door remote (or keypad) is simply a small radio transmitter. When you press the button, it sends a coded signal on a specific frequency to a receiver built into your opener motor. If the opener recognizes the code, it triggers the door. Keypads do the same thing but require you to enter a PIN first, which then sends the signal.
The key concept is the rolling code. Openers made in roughly the last two decades use rolling-code (or "hopping code") security: the code changes after every press, so it can't be copied and replayed by a thief. This is great for security, but it's also why remotes must be "paired" or "learned" to a specific opener, and why a remote can quietly fall out of sync. Older fixed-code openers, by contrast, use small dip switches you physically set, and those rarely lose sync but are easier to clone.
Frequency matters too. Most North American openers operate around 300 to 400 MHz, and a remote or keypad has to match both the opener's frequency and its code format. That's why a generic remote off the shelf won't always work, and why matching the right replacement to your specific opener brand and era is part of getting it fixed correctly the first time.
Reprogramming and pairing a remote or keypad
Reprogramming is the most common professional fix, and often the cheapest, because nothing is physically broken. If a remote stopped working after a power outage, after you changed the battery, after a neighbor's device interfered, or if you bought a used home and inherited unknown remotes, pairing it fresh to the opener usually restores it. The same applies to keypads that suddenly reject the correct PIN.
Almost every opener has a "learn" or "program" button on the motor unit, typically near the antenna wire and sometimes hidden under a light cover. The general process is to press the learn button, then press the remote button (or enter and confirm a new keypad PIN) within a short window, usually around 30 seconds, until the opener light blinks or clicks to confirm. The exact steps, button color, and timing vary by brand and model, which is where many DIY attempts stall.
If you can't find the learn button, the door pairs but won't hold the setting, or every remote you try fails, that pattern points beyond a simple reprogram, often to a failing logic board or receiver inside the opener. At that point, a technician can confirm whether reprogramming is even possible or whether the receiver itself needs service. Reprogramming should always be done carefully, because erasing all codes to start clean will also de-pair every remote in the household until each is re-added.
- Reprogram first when the door still opens from the wall button but not the remote or keypad.
- Clearing all codes resets every paired device, so plan to re-pair each remote, keypad, and in-car button.
- Keep your keypad PIN private and change it after move-in, after service calls, or if anyone who shouldn't have access knew the old one.
- If pairing never "sticks," suspect the opener's receiver or logic board, not the remote.
When to repair, reprogram, or replace
Choosing between a fix and a replacement comes down to what failed and how old the equipment is. A remote with a cracked case, water damage, or a button that no longer clicks is usually cheaper to replace than to repair. A remote that's physically fine but won't talk to the opener is almost always a reprogram or battery issue. A keypad that's faded, sun-cracked, or has sticky buttons from years of outdoor exposure is typically a replacement, since weather is its main enemy.
Compatibility is the deciding factor for replacements. A modern universal remote or keypad can match many openers, but it must support your opener's frequency and code type. If your opener is very old, parts may be discontinued, and the smarter long-term move can be a new remote-and-receiver kit, or eventually a new opener. None of this requires guessing: the opener's brand and model, usually printed on the motor housing, tells a technician exactly what's compatible.
There's also a security angle worth weighing. If you've lost a remote, bought a home with unknown remotes floating around, or had a keypad PIN compromised, the right move isn't just a new device, it's clearing the old codes from the opener so the missing remote can no longer open your door. Treat a lost garage remote like a lost house key.
- Replace: cracked, water-damaged, or button-dead remotes; faded or sticky outdoor keypads.
- Reprogram: physically fine devices that won't pair, or that failed after an outage or battery swap.
- Repair the opener side: when no remote will pair and the receiver or logic board is suspect.
- Re-secure: after a lost remote or compromised PIN, clear old codes so they can't open your door.
Why these problems vary by region and climate
Remote and keypad failures aren't random, and where you live genuinely shapes which ones you'll hit. Outdoor keypads take the worst of it: in hot, high-UV regions across the South and Southwest, sun degrades the plastic, fades the labels, and dries out the button membrane far faster than in milder climates. In cold northern winters, battery output drops sharply in subfreezing temperatures, so a keypad or remote that's fine in summer can act dead on the coldest mornings simply because the cold has sapped the battery.
Moisture is the other regional factor. In humid coastal and southern areas, condensation and salt air can corrode keypad contacts and remote battery terminals over time. In storm-prone regions, frequent power surges and outages are a leading cause of openers losing their programming, which then presents as "all my remotes stopped working at once." Recognizing the climate pattern often points straight to the cause.
Because these issues track with weather and seasons, a little prevention goes a long way: replacing keypad batteries before winter, shielding an outdoor keypad from direct sun and rain where possible, and re-pairing remotes after a major outage. Our technicians service remote and keypad problems across the country, and they account for these regional realities when diagnosing what failed and what will hold up best where you live.
Safety: why you shouldn't force a balky door
When a remote or keypad acts up, the instinct is to keep pressing and, if the door starts and stops, to force it the rest of the way. Resist that. A remote that triggers the door but the door reverses, hesitates, or won't fully close may be telling you the problem isn't the remote at all, it could be the opener's safety sensors, a binding door, or a spring or cable issue that the opener is sensing as resistance. Forcing it can turn a cheap fix into an expensive one, or create a real hazard.
The photo-eye safety sensors near the bottom of the tracks are a frequent culprit that masquerades as a remote problem. If they're misaligned, dirty, or blocked, the door will refuse to close from the remote or keypad and often blink the opener light, even though the remote is working perfectly. Cleaning and realigning sensors is straightforward, but a door that won't close is also a security concern you'll want resolved quickly.
Never disconnect the opener and manually move a door if you suspect a broken spring or cable, and never put hands or fingers near the rollers, hinges, or the bottom of a moving door. If your door is stuck open and leaving your home and car exposed, or stuck closed and trapping your vehicle, and you can't quickly trace it to a dead battery or a simple reprogram, it's safer and usually faster to get a same-day technician than to keep fighting it.
- A door that reverses or won't fully close on remote often signals a sensor, spring, cable, or alignment problem, not the remote.
- Check the photo-eye sensors at the base of the tracks for dirt, blockage, or misalignment before blaming the device.
- Don't force a hesitating door; resistance the opener feels can mean a hardware fault that's unsafe to override.
- Keep hands clear of moving parts, and get fast help if the door is stuck open (security risk) or stuck closed (car trapped).