What Garage Door Insulation Actually Does (and Why R-Value Is Only Half the Story)
R-value measures resistance to conductive heat flow. The higher the number, the more slowly heat passes straight through a material. For garage doors you will commonly see ratings from around R-6 on entry-level insulated panels up to roughly R-18 or higher on premium polyurethane-injected doors. Those numbers are real and useful, but they describe a panel in a lab, not your garage on a July afternoon or a January night.
The reason R-value is only half the story is that a garage is rarely an airtight, conditioned room. Much of the comfort and energy difference people actually feel comes from air leakage around the perimeter, under the bottom seal, and through the gaps where the door meets the jambs and header, not from heat conducting through the center of a panel. You can install a high-R door and still feel a draft if the weatherstripping is gone. A practical insulation plan treats the panel and the air seal as one system, because the weakest link sets the result.
It also helps to be clear about what insulation will and will not do. An insulated garage door slows the swing between outdoor and garage temperatures and makes an attached garage easier on the rooms above and beside it. It does not turn an unconditioned garage into a heated room, and it will not fix moisture or comfort problems caused by an uninsulated ceiling, walls, or a leaky service door. Set expectations around moderation, not transformation.
- R-value = resistance to conductive heat flow through the panel only.
- Air sealing (perimeter, bottom seal, jamb gaps) often matters as much as the panel rating.
- Attached garages benefit most because the shared wall and ceiling affect living space.
- Insulation moderates temperature swings; it does not make the garage a conditioned room.
Insulation Methods Compared: Kits, Panels, and Factory-Insulated Doors
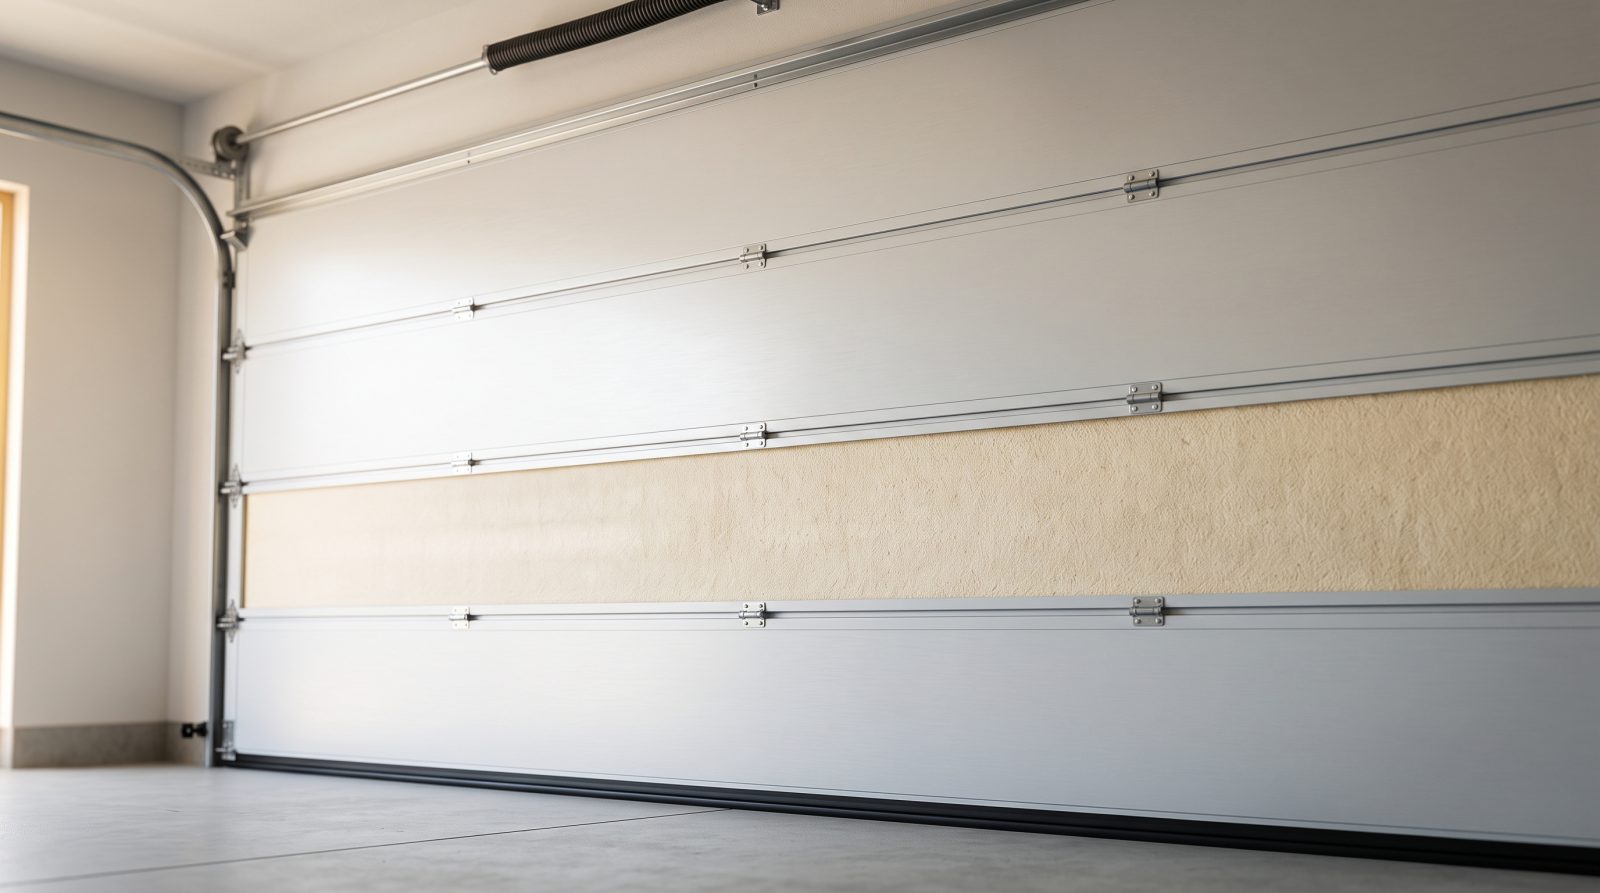
There are three broad paths to an insulated garage door, and they differ sharply in cost, performance, and how much weight they add. The cheapest is a retrofit insulation kit applied to an existing single-layer steel door. These use rigid foam boards or batt-style panels that you cut to fit each section and secure with clips or adhesive. They are the most accessible DIY option and can noticeably cut radiant heat on a sun-baked door, but they add the least real R-value of the three and, critically, they add weight to a door that was never engineered to carry it.
The second path is a higher-quality sandwich or layered panel approach, where rigid polystyrene or polyurethane is fitted into the panel cavities and often capped with a backing layer for durability and appearance. This performs better than a basic kit and looks cleaner, but it adds even more weight and is still a retrofit onto springs and an opener sized for the original door.
The third and best-performing path is replacing the door with a factory-insulated model. These are built as true two- or three-layer doors with foam injected or laminated between steel skins, and the springs are matched to the finished weight from the start. You get the highest and most consistent R-value, better structural rigidity, quieter operation, and no balance surprise, because the system was engineered as a unit. The trade-off is cost and the fact that it is a full installation rather than a weekend project.
The single most overlooked issue across all retrofit methods is added weight. Garage doors are counterbalanced by springs tuned to a specific weight. Add several pounds per section with foam and you can leave the door out of balance, which forces the opener to work harder, accelerates wear on the springs and cables, and in some cases causes the door to drift or slam. If a retrofit leaves your door heavy or unbalanced, the spring system must be re-evaluated, and that is professional work because torsion springs store dangerous energy.
- Retrofit kits (foam board/batt): cheapest, DIY-friendly, modest R-value, adds weight.
- Layered/sandwich panels: better performance and looks, more weight, still a retrofit.
- Factory-insulated doors: highest and most consistent R-value, springs matched to weight, full install.
- Any retrofit can unbalance the door; re-check balance and spring tension after adding mass.
Choosing an R-Value by Climate and Use: A Nationwide View
The right R-value depends heavily on where you live and how you use the space, and it genuinely varies across the country. In hot, sunny southern and southwestern regions, a west- or south-facing door can radiate heat into the garage for hours; here even a moderate insulation level plus a reflective or light-colored exterior makes a real difference in afternoon heat. In cold northern and mountain climates, higher R-values earn their keep through long winters, especially for attached garages sharing a wall with living space.
Use matters as much as climate. If your garage is purely for parking and storage, a mid-range insulated door is usually plenty, and chasing the highest R-value offers diminishing returns. If the space doubles as a workshop, gym, home office, or hangout, or if there are finished rooms directly above it, a higher R-value and careful air sealing pay off in day-to-day comfort and in the load on your home's heating and cooling.
Humid coastal and southeastern climates add a moisture dimension that pure R-value ignores. In those regions, controlling air leakage and condensation is often the bigger win, because warm humid air meeting a cool surface can create dampness, musty odors, and rust on hardware. There, prioritize a good bottom seal and perimeter weatherstripping alongside the panel rating. In dry, high-temperature-swing climates, the goal is more about buffering the daily hot-to-cold swing than fighting humidity.
Costs for these projects are typical industry ranges, not quotes, and they vary widely by door size, material, region, and scope. As a rough framing: a basic DIY retrofit kit is the least expensive option, a professionally fitted layered insulation upgrade lands in the middle, and a full factory-insulated door replacement is the largest investment because it includes the door, hardware, and labor. Always treat any figure as an estimate that depends on your specific door and local market, and get a written quote for your situation.
- Hot/sunny regions: moderate R-value plus reflective or light exterior tames afternoon heat.
- Cold northern/mountain climates: higher R-value pays off, especially for attached garages.
- Humid coastal/southeastern areas: prioritize air sealing and moisture control alongside R-value.
- Match the rating to use: parking/storage needs less; workshop, gym, or rooms above need more.
- All cost figures are typical ranges that vary by door, material, region, and scope, not fixed quotes.
Don't Forget the Seal: Weatherstripping, Bottom Seals, and Air Gaps
Even the best-insulated panel underperforms if air pours around it. The bottom seal, the flexible gasket along the floor edge, is the single most important and most neglected component. It compresses to close the gap against an uneven concrete slab, blocks drafts, water, leaves, and pests, and it wears out from sun, cold, and constant compression. A cracked or flattened bottom seal can undo much of what insulation is supposed to buy you, and replacing it is one of the most cost-effective comfort upgrades on the whole door.
Around the sides and top, perimeter weatherstripping (the strip mounted to the stop molding that presses against the door face) seals the jamb and header gaps. Between sections, some doors use a built-in tongue-and-groove or a thin gasket that limits air movement panel to panel. Inspect all of these when you insulate; it makes little sense to add R-value to the field of a door while leaving open seams at its edges.
Regional climate shapes which seal matters most. In snowy regions, a good bottom seal keeps drifting snow and meltwater out and resists freezing to the slab. In rainy and coastal areas, perimeter and bottom seals are your first line against wind-driven water and humidity. In hot, dusty climates, the same seals keep fine dust and heat infiltration down. Treat sealing as a recurring maintenance item, not a one-time fix, because gaskets are wear parts by design.
- The bottom seal is the highest-impact, most-overlooked sealing component, and it wears out.
- Perimeter weatherstripping closes the side and top jamb gaps; inspect it whenever you insulate.
- Section-to-section gaskets limit air movement between panels on many doors.
- Seals are wear parts: re-check them seasonally, especially after extreme heat, cold, or storms.
The Safety Side: When an Insulation Project Becomes a Repair Emergency
This is where our urgent-repair focus matters most. Adding insulation changes the weight of a door that is held in careful balance by springs under high tension. After any retrofit, you should test the balance: with the door disconnected from the opener (using the release), it should stay roughly in place when lifted halfway. If it slams down or shoots up, it is out of balance, and that is not a cosmetic issue. An unbalanced door overloads the opener and stresses the cables and springs, which can lead to a sudden failure.
The failures that follow are exactly the situations this site exists to help with. A door that becomes too heavy can refuse to open, trapping a car inside right when you need to leave. A snapped spring or frayed cable can let a door drop hard or hang crooked, and a door that comes off its track can end up stuck partway open, leaving your home and contents exposed. None of these should be forced. Repeatedly hitting the opener button or muscling a binding door usually makes the damage worse and raises the risk of injury.
Torsion and extension springs store enough energy to cause serious harm, so spring adjustment, cable replacement, and re-tracking are jobs to leave to a qualified technician with the right tools. If, after insulating, your door is heavy, noisy, jerky, uneven, or refusing to fully open or close, stop using it and have it inspected. The safe move is to disconnect the opener, leave the door where it is, keep people and vehicles clear, and arrange a professional assessment rather than risk a sudden drop.
Plan the project in the right order to avoid these emergencies in the first place: confirm your existing door is rated to carry added weight (or accept that a factory-insulated replacement is the better path), keep the added mass as low and even as the kit allows, and re-test balance before you trust the door to daily use. Done thoughtfully, insulation is a safe, rewarding upgrade. Done blind, it is one of the more common ways a working door turns into a stuck or off-track one.
- After insulating, test balance: disconnected, the door should hold roughly in place halfway.
- An unbalanced door overloads the opener and stresses springs and cables toward sudden failure.
- Common results of getting it wrong: car trapped inside, door stuck open (a security risk), or off-track.
- Never force a heavy or binding door; repeated forcing worsens damage and risks injury.
- Springs and cables store dangerous energy, leave adjustment, replacement, and re-tracking to a pro.